Hey, fellow e-commerce pro. We've all been there - that annoying cart abandonment rate. It's not just frustrating but it can really hurt your sales. But here's the thing, it's also a chance to learn more about your customers and their shopping journey.
That's where Google Analytics comes in. With this tool, you can dig deeper into your customer's experience and make smarter decisions to help increase conversions and improve the overall customer experience.
In this comprehensive guide, we'll take you through the steps to master cart abandonment by setting up and tracking it in Google Analytics.
Get ready to take your e-commerce business to new heights as we delve deeper into the process.
**Please note this is for Google Analytics: Universal Analytics. We'll be back soon for GA4 setup!
Step 1: Set up E-commerce Tracking
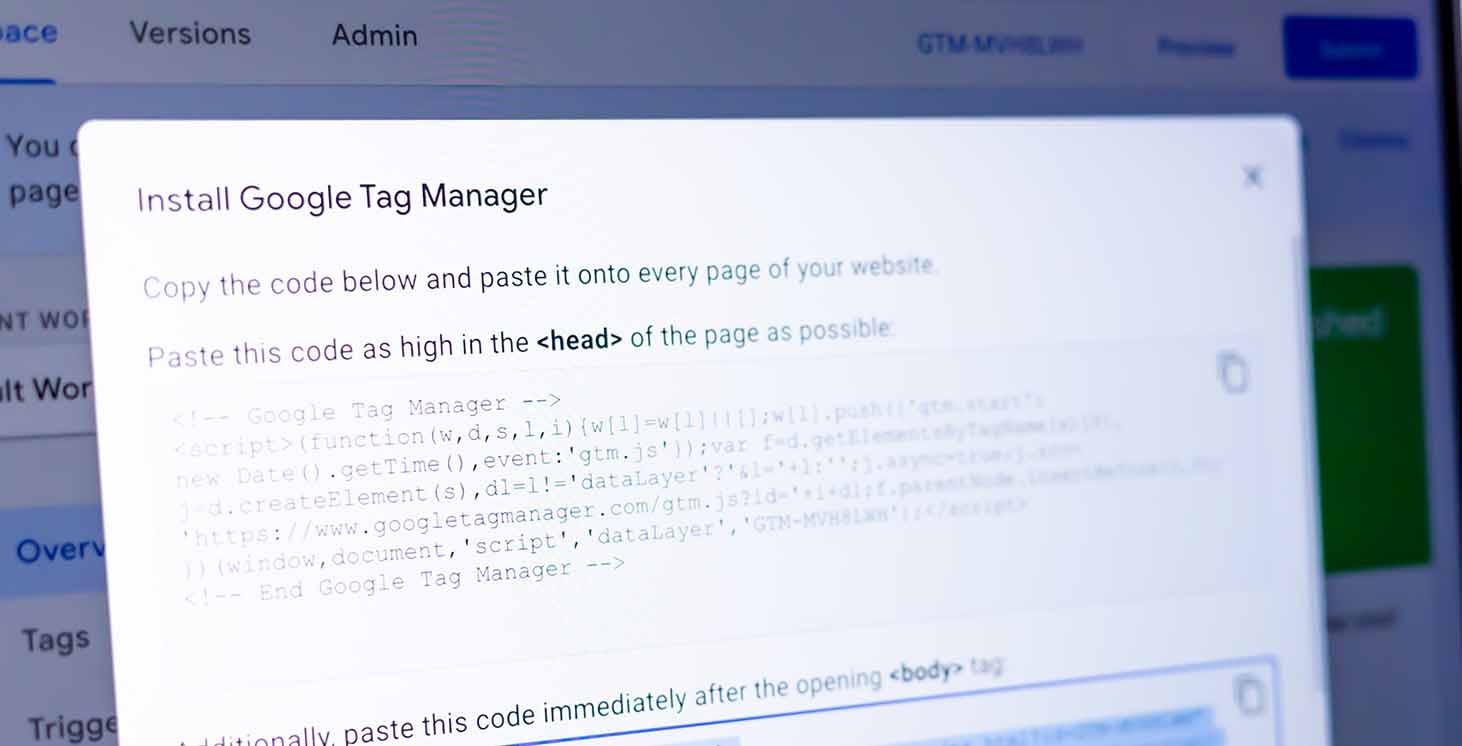
Want to keep tabs on why people are ditching their carts on your website? First things first, you gotta set up e-commerce tracking in Google Analytics. This way, you'll have all the important info on customer transactions at your fingertips - like what they're buying, how much they're spending, and more. To get started, just add the Google Analytics tracking code to your website and use the e-commerce tracking code on your checkout page.
Step 2: Create a Goal
Okay, so you've got e-commerce tracking set up on your website, now what? Time to set a goal in Google Analytics. A goal is just what it sounds like - it's a specific action you want your website visitors to take, like buying something or filling out a contact form. To track cart abandonment, head to the "Admin" section and select "Goals" from the drop-down menu.


Then hit the "+New Goal" button.

Step 3: Goal Set up
Alright, so you've made it to the goal setup wizard. First things first, choose "Custom" as your goal type.

Give your goal a name like "Checkout Complete" and then select "Destination" as the goal type.

Now, you'll need to specify the destination by copy-pasting the URL of the page customers reach after purchase. For example, if the destination URL is "/start-checkout," that is what you would enter.

Step 4: Create a Funnel
Now it’s time to create a funnel by linking each step in the checkout process. Turn the “Funnel” toggle on and add a link to every step of the checkout process. A basic funnel includes the cart page, checkout page, and page for a successful purchase.

Step 5: Find Cart Abandonment Funnel Report
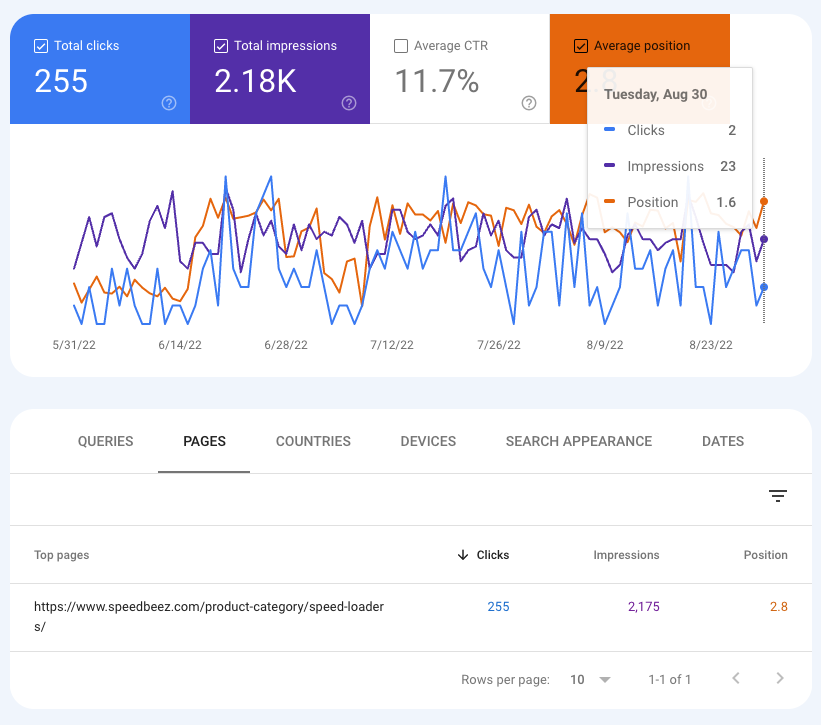
Now it’s time to locate your reports on cart abandonment. First, navigate to the "E-commerce" section under "Conversions" on the Google Analytics homepage, then select "Goals." To gain insight into where in the buying process users are leaving, click on "Funnel Visualization" which will show you the strengths and weaknesses in your checkout funnel.

Once you head on over to the Funnel Visualization, you will be able to view your funnel performance.

This Google Analytics Demo Account shows that while 428 number of visitors added items to their cart, only 65 actually completed their purchase. By examining each step in the process, it is possible to identify the reason for this drop-off and create a plan that will help you to improve your customer experience and ultimately, your sales.
Conclusion
We hope this guide has been a huge help as you tackle cart abandonment emails and boost your recovery rate. Keep in mind, email marketing is a game changer when it comes to recovering those abandoned carts. If you need any help figuring out the best time to reach out to customers, our team of experts is here for you. Don't hesitate to reach out for guidance and support as you take your e-commerce business to new heights.


![[2025] Configuring Bookeo & Google Analytics 4 (The Easy Way)](/_next/image?url=https%3A%2F%2Fcms.birchriverdg.com%2Fwp-content%2Fuploads%2F2023%2F04%2FCopy-of-How-to-Tell-If-Youre-Overspending-On-Google-Ads-4.png&w=3840&q=75)


![4 Best Escape Room Booking Software Solutions [2024]](/_next/image?url=https%3A%2F%2Fcms.birchriverdg.com%2Fwp-content%2Fuploads%2F2022%2F12%2FEscape-Room-Booking-Systems-1.png&w=3840&q=75)


![[2023] Bookeo Escape Room Integration Guide](/_next/image?url=https%3A%2F%2Fcms.birchriverdg.com%2Fwp-content%2Fuploads%2F2023%2F03%2FBookeo-Series.png&w=3840&q=75)


![[2022] The Ultimate Escape Room Marketing Plan](/_next/image?url=https%3A%2F%2Fcms.birchriverdg.com%2Fwp-content%2Fuploads%2F2022%2F08%2FLoyalty-Loop%402x.png&w=3840&q=75)